Sunday, September 23, 2012

Speaker Reconing

My first attempt at reconing a speaker.
This speaker is a 12" Celestion G12M from 1969.
This is a Pre Rola build which is considered the
holy grail of Celestion types.
I believe brother Chris has one similar  to this in his Fender Tweed Pro amplifier

I purchased the speaker recone parts for $35.
The most difficult part was the removal of the old speaker parts
from the frame and the cleanup of the old adhesive.
Lots of acetone was used.

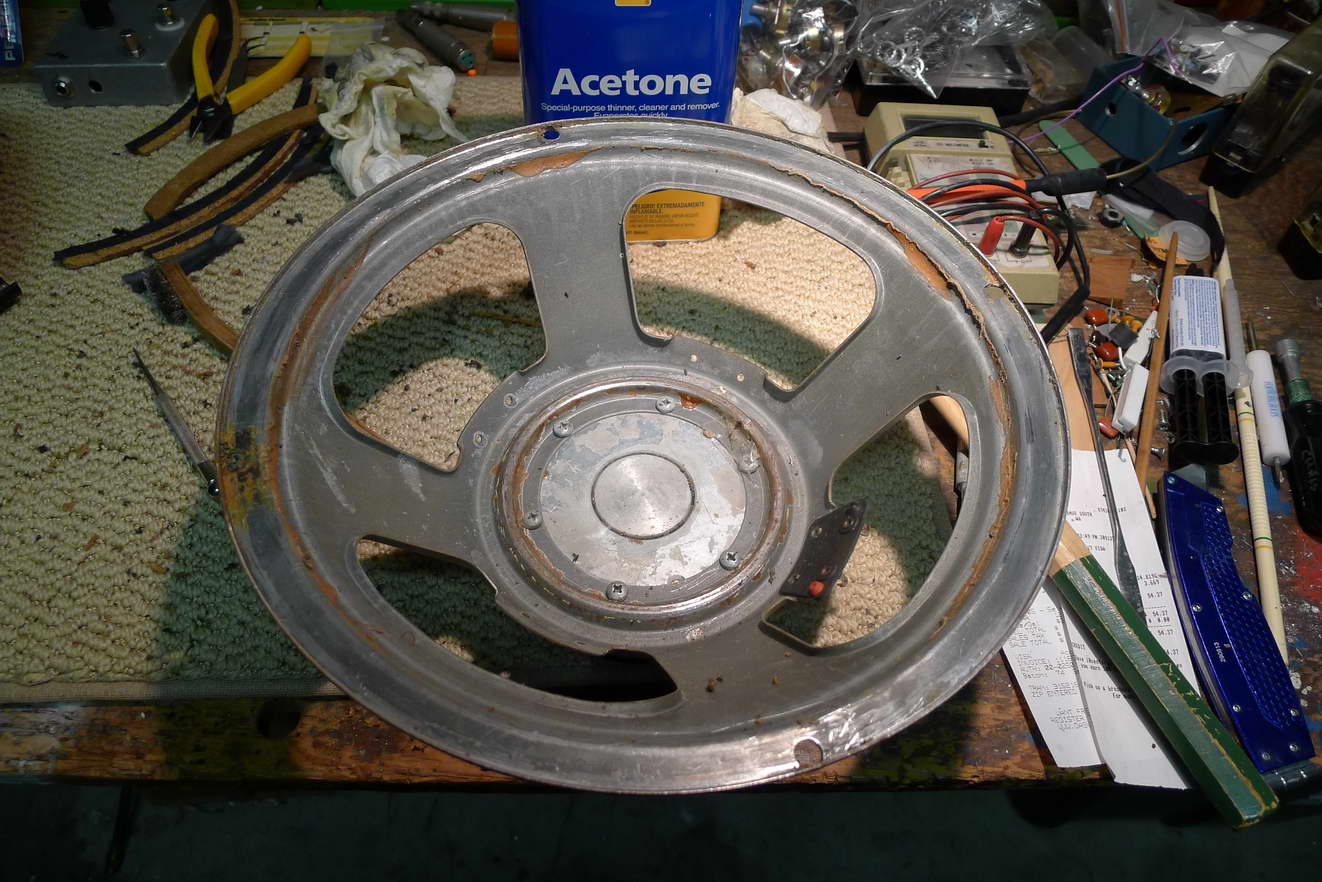
Here is the speaker frame after an hours worth of cleanup.
Note the voice coil slot is taped over to prevent "stuff" getting trapped in the voice coil magnet gap.
Here is the original speaker cone with spider and burnt out voice coil assembly.
Temporary 0.005" shims are installed for the voice coil gap. These shims will keep the entire new speaker cone with the voice coil and spider alligned relative to the voice coil gap and speaker frame.
These shims are made from some type of paper stock and plastic shims would be better.
 Sticky black speaker cement that gets tacky in about 10 minutes.
Sets in 24 hours. Notice the new speaker cone, voice coil and spider assembly in the background
 Adhesive is applied for the spider
 Adhesive applied on the outer edge of the speaker frame for the speaker cone
 New cone assembly slipped down in position over the shims .The shims are doing their job keeping the voice coil centered within the magnet slug.
 More adhesive applied for the cork gaskets
 All cork gaskets in place
 Dust cap glued in place. A small handle made from masking tape was
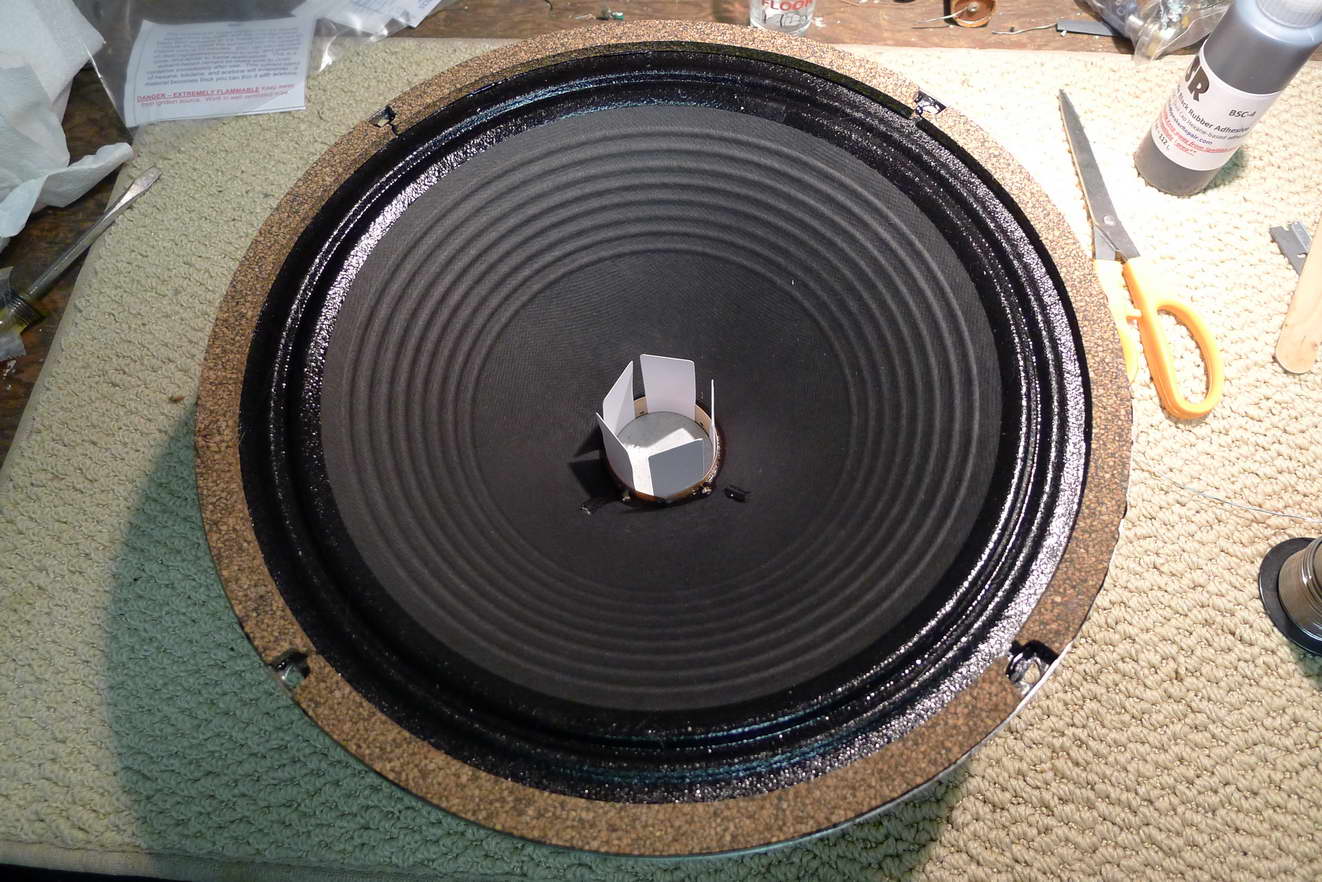
made to assist in positioning the cap on the ring of applied adhesive.
An empty shot glass was used to weigh down the dust gap while the adhesive sets
After letting the adhesive dry for a day, the speaker tested out great.
Mission accomplished. Pretty simple actually as long as you have the work flow
figured out ahead of applying the adhesive.

No comments:

Post a Comment